
I got the itch to start working in my classroom this week. The spare bedroom was filled to the brim with "stuff" that needed to go to my classroom so I packed up my car and went in on Monday morning expecting it to be 120 degrees in my room. I was pleasantly surprised to find out that the AC was on (thank you summer school)! So, I stayed longer than I had originally planned and got some things put back.
Here is what I walked into on Monday morning. Yikes.
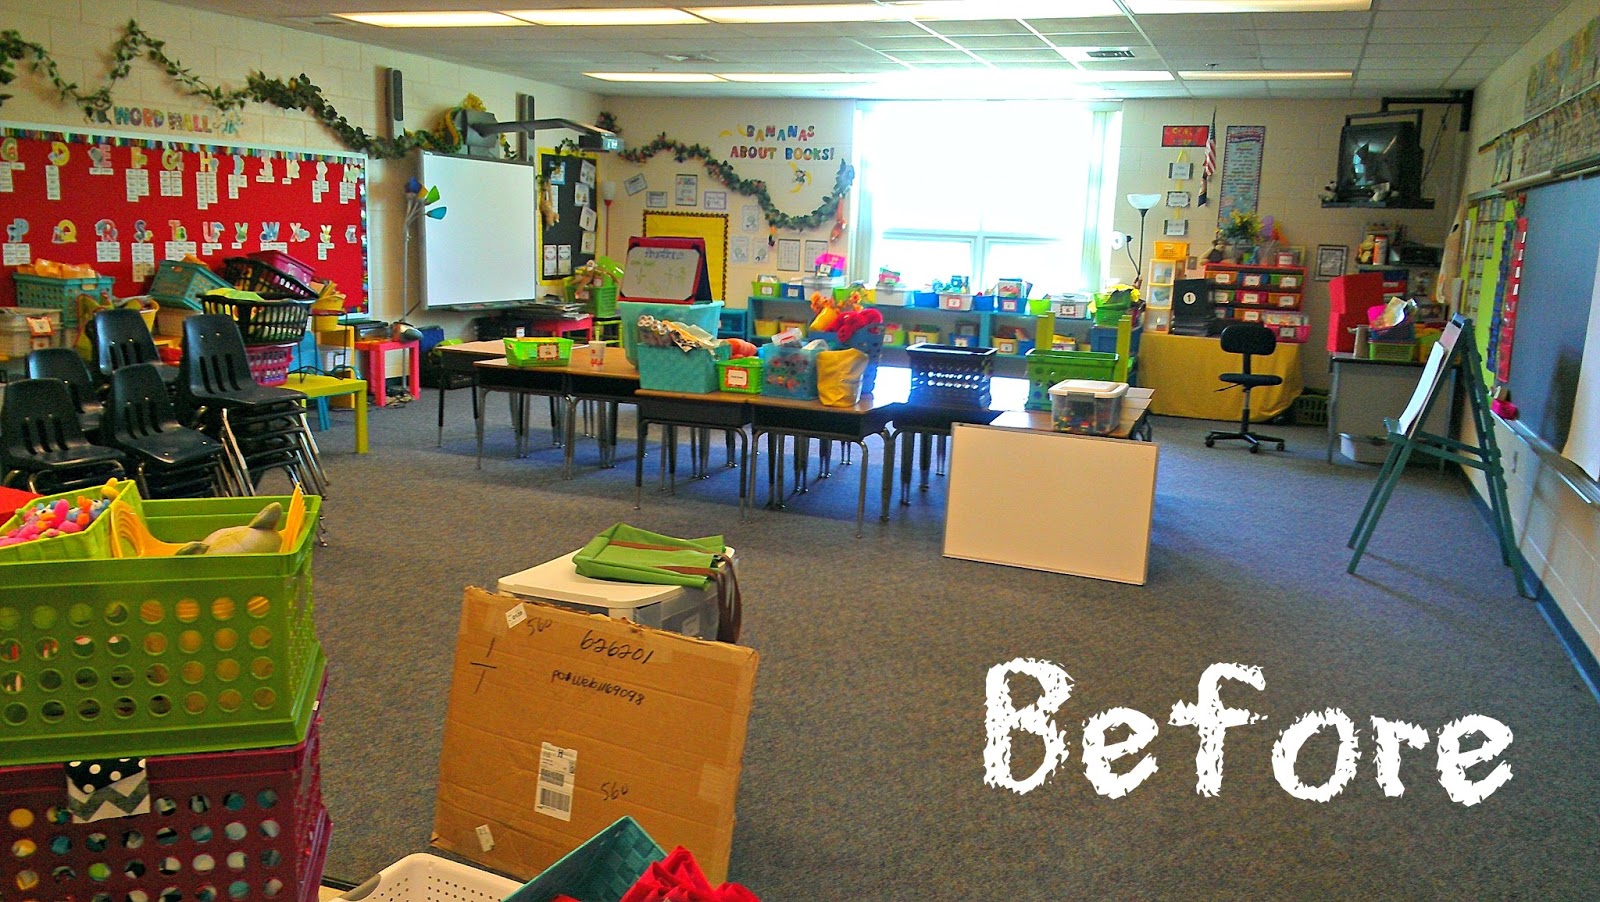
I've had a "jungle" theme for the past few years and each year monkeys have slowly started to disappear. Bless their hearts. They're cute but I got tired of them about 2 years ago but couldn't justify spending the money to completely re-do everything. I finally decided that I'd built up enough bright, colorful decor to make THAT my theme.
The last reminder of "the jungle" was the vine hanging in the meeting area. I decided to replace that with a black and bright, whimsical rag banner. I kept seeing them popping up on Pinterest...mostly as photography backdrops and party decorations. I decided that I could whip one up faster than cutting out triangles for a pennant. I am am impatient crafter and I'm really, really bad at measuring things. Eek.
I can't even describe how easy this was and I'm thrilled with the final product! I had a LOT of fabric left over from various unfinished projects and I ordered some more (chevron...duh!) on fabric.com! They have an awesome selection.
So I ended up with a ton of playful patterns and colors to work with.

The best part of this project was NO MEAURING required. The strips do not have to be uniform or perfect. In fact, I think it is better if they're not. That's what I tell myself, anyway.
I used some decorative black cord from Hobby Lobby to string the fabric. If I was using this for a party in my house or for photography or something...I think twine would look adorable, but the black worked best with my classroom colors.

Just cut strips, lay them out, and get ready to tie!

I tried to show you how I tied the "knots" but it was hard with one hand on the camera. ;) Basically I folded the strip in half. Put the "open" ends on the top and pull the "closed" end through the hole and then just pull it snug. The end result was a knot that looked sort of like a man's tie. My fabric was not double sided, so I just pulled on it and arranged it so the pretty side was facing out for the most part. The cutting and tying combined took about 2 hours. I made two really long banners.

So easy. So cute.

And her's my little fashion model posing with the finished product.

And ta-da! Here it is hanging in my classroom. Please ignore the crummy quality and everything else in the photo. Good grief. I still have a lot of work to do...but no more jungle vine!
I have some more fun projects planned for that pretty fabric...stay tuned!
Now, I have a pajama party planned with my laminator. Friday night...what else would I do?
Happy Summer to you!


17 comments:
Love the scrap fabric banner! It's adorable!
The Polished Teacher
Thank you! Super easy!
The banner came out beautiful! I love all the colors and prints!
Fashion Craze Learning Days
The banner looks great! Can't wait to see what else you are up to:)
MOM
The banner is adorable! I was planning to make a pennant banner (a short one) for a space in my room, but now I'm considering this option. Thank you for sharing the how-to!!
Aimee
Primarily Speaking
That is absolutely precious!! Love the idea -thanks so much for sharing :)
Kelly
First Grade Fairytales
I love your fabric choices. What a fun idea! :)
Stephanie
Eat.Write.Teach.
:)
Thanks,girl! Can't wait to see what you decide!
Thanks, Kelly! I kind of love it. :)
Thanks, Stephanie! It's definitely....bright!
hehe
Amy
What Happens in First Grade
Wow! I HAVE to do this! I don't have fabric scraps that would work for this. About how much total yardage (all colors combined) do you think I would need to buy for a banner this size? (I'm prob not the only one wondering this.)
Thanks!
Terri
I bet you're right! I tell you what...I'm going to go to my classroom tomorrow. I'll do a little bit of measuring and I'll update my post with all of the specifics! It's hard to say how much fabric I used since I had bits leftover from different things but I can figure it out from counting the strips I used. The fabric that I did buy new...I just bought one yard of each, and got plenty of strips out of one yard!
Stay tuned!
Love that project!!! I need to get to Hobby Lobby stat!
www.theblessedocdiva.blogspot.com
Amy, I just found your blog and it is so cute! LOVE the fabric banner. Love it! We can't have fabric in our classrooms AT ALL. :( I had adorable little curtains covering the "stuff" I have- and covers over the shades- now. Nothing. Oh well... yours is sweet!
I'd love to you stop over to my blog if you get a chance!
Carolyn
Kindergarten: Holding Hands and Sticking Together
Thunder Titanium Lighting - A Unique Combination of Light &
Thunder titanium wood stove Titanium Lighting is a unique combination titanium security of light & space in the design and is crafted to create titanium aftershokz a titanium bike stunning harmony of titanium security space, time & space.
this is very appealing, however , it is very important that will mouse click on the connection
Post a Comment